To create 3D photographs, we can take an image with a camera, slide the camera to the right a certain distance, and take another image. If we present the left image to the left eye and the right image to the right eye, the viewer will see a 3 dimensional image.
 Here is an image I made of Gunslinger, a research project at the USC Institute for Creative Technologies. It is an immersive experiment in storytelling that puts you in the role of a ranger in the old west.
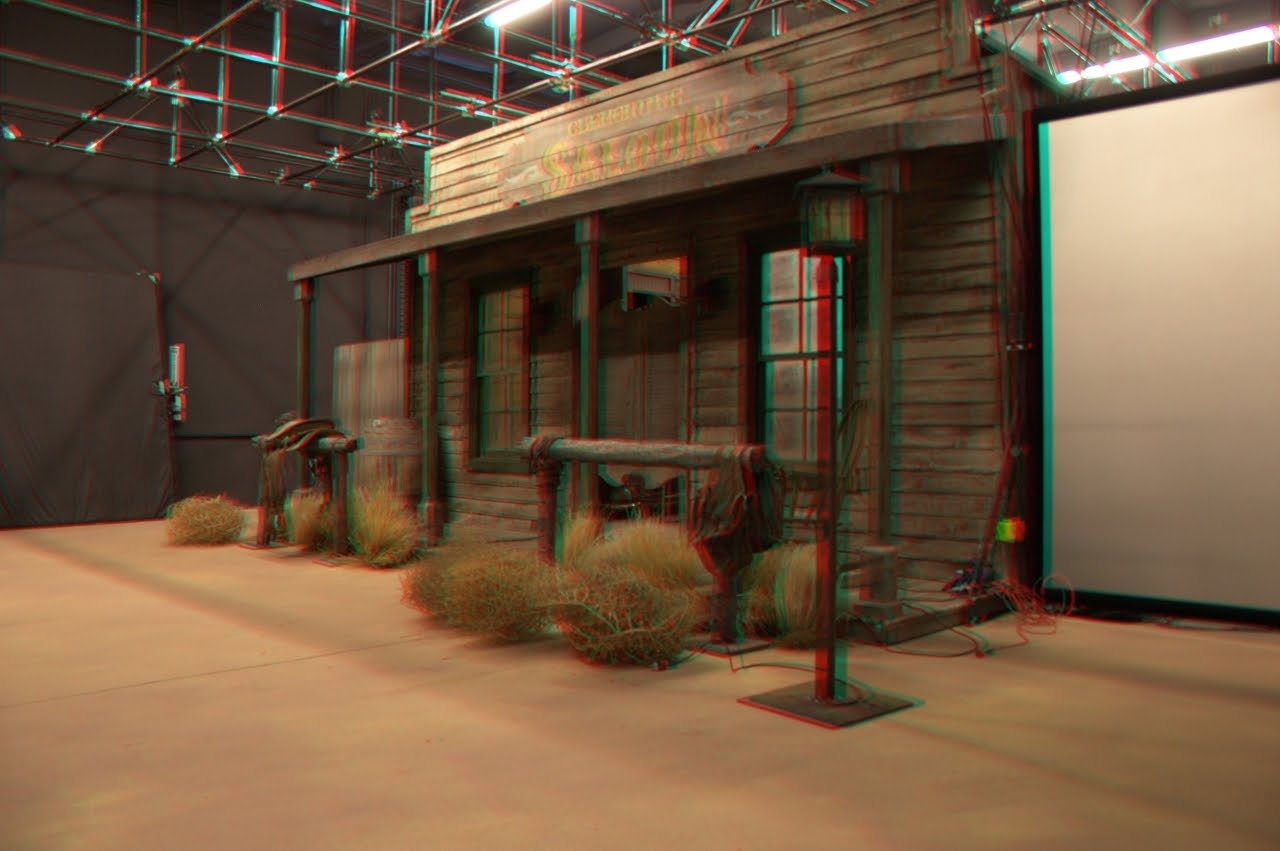
 This is an anaglyph image, which means it combines a red image and blue image together, but you wear glasses with red and blue filters to direct the red image to one eye and the blue image to the other. So with your red and blue 3D glasses, you will see some depth. I used some free software called Anaglyph Maker to create the composite picture from the two original images.
I built a camera rail, which allows me to slide the camera along a fixed track. A rule of thumb I have seen is to measure the distance from the camera to the objects in the scene and use 1/30 of that value for the displacement. If you are taking an image of something 10 feet away, you should slide the camera 4 inches between images (10 feet = 120 inches, 120 inches/30 = 4 inches). There can be other considerations, like the range of distances to object in the scene, the size of the screen on which you will finally view the image, the ability of your users to fuse stereo images (which varies from person to person), as well as the composition and dramatic effect you are trying to achieve in you image.